Understanding Mobile Inventory
The inventory system at BCI is now broken down into three sections, Tools, General Inventory and My Inventory. It is important that you understand the difference between these and how to access them from your mobile phone. Our inventory system identifies four different types of inventory items, they are tools, services, inventory and non-inventory. These types are defined as the following:
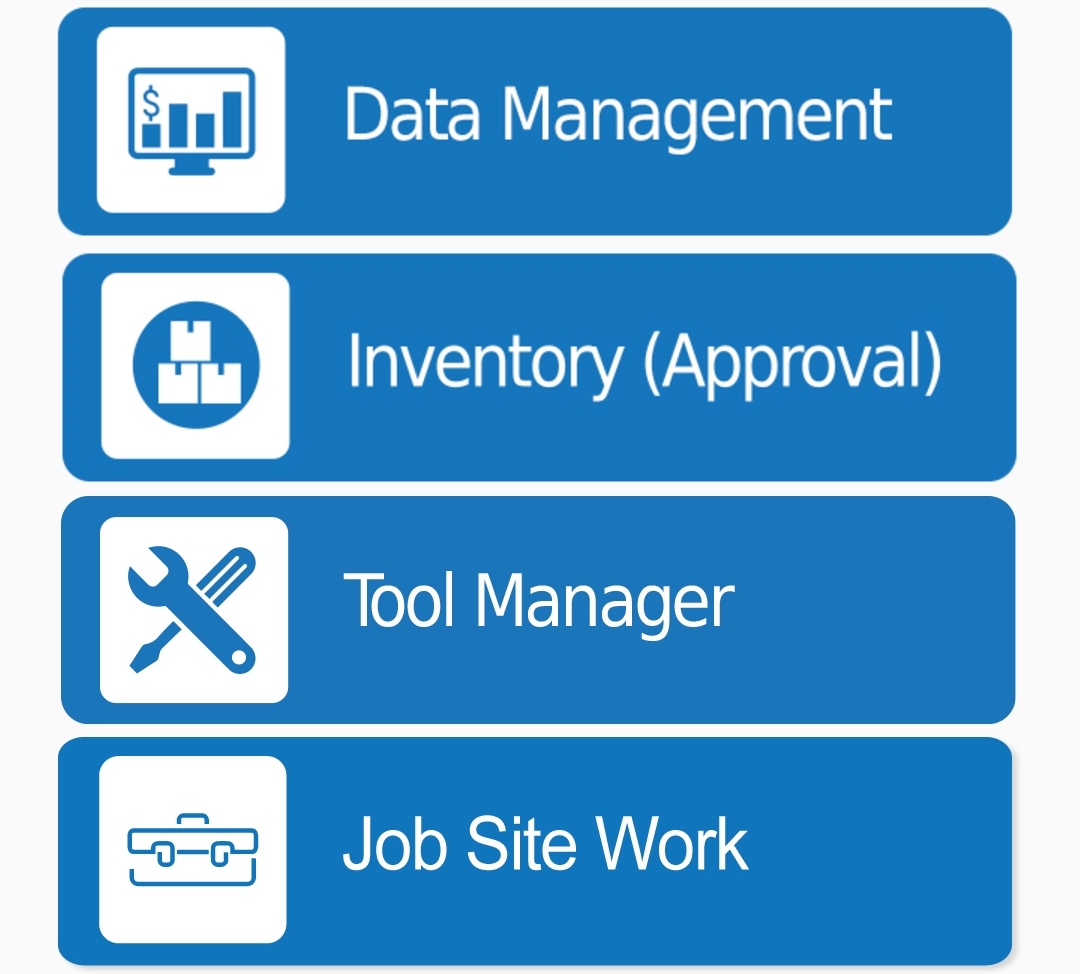
ToolsTools are things you use to do your work that are NOT purchased with the intent of passing the cost of the item to the Client/Customer. So when you buy a hammer, you buy it to do work, but you do not pass the cost of the hammer to the customer on the invoice. BCI has a separate sub app for tracking tools called Tool Manager.
ServicesServices are typically nonphysical things that you charge the customer for that do not pertain to any physical item. Examples of this are charges like Trip Charge or fees like coolant transfers or pump outs. We bill the customer for these fees but the actions are based on your labor. Only the office can create services. You can apply services from the Service Record Material Inventory screen.
InventoryInventory items are physical items that you use to do a job that are bought and resold to the customer. These items are purchase, stored and then used on the job. Inventory items have a quantity that must be tracked. You can apply inventory items to a job from the Service Record Material Inventory screen.
Non-InventoryNon-Inventory items are generally items that have value but no physical representation. As an example, an RTU would be a non-inventory item as we put them in our system to use in billing the customer, but we do not actually store RTUs generally. Mobile users can not see or apply Non-Inventory to a job, this is done by the office.
Understanding Inventory Locations
It is important to understand the difference between the phrase MY Inventory and Inventory in general. The inventory system under Equipment Manger tracks all inventory elements under locations. Locations are assigned to the physical space the inventory is stored. This includes, Vans, Trucks, Shops, Offices and Lock Boxes. Items are stored in locations under a sub-location ID. The sub-location says where the item is found in the location.
It is important to understand that Items can NOT be moved from a location to a job unless the mobile user is assigned to the location where the item is currently residing. Mobile users are typically only assigned to their vans as locations, that means that if the item you are looking for is found at another location, you will need to transfer the item to your Van before you can place the item on a job through the Service Record Material Inventory screen.
Searching for Items

If you do not have an item in your van, you can search all locations that are public in the Inventory system for the item you are looking for. This can be done by backing out of the Equipment Manager app to the main menu and selecting the Inventory button. If you do not see a button in the main menu titled Inventory, this means that you are not currently assigned to a inventory location and cannot use the inventory system. If you think this is an error, you need to contract Brien McDowell and let him know.
Once you click on Inventory Manager from the main menu, you will see screen titled Inventory Options. Under this screen you should see a Select Location drop menu that will have your Van ID in it. You may see other IDs if your assigned to Job Boxes or other locations. If you see anything that looks like it does not belong, please send Brien a text or email.

By default your Van should be selected. If it is not selected, you need to select your van unless you are planning to move items to another location your assigned to.
You will see four options on this screen by default based on your permissions. They should be Item Search/Transfer, Add Items, Approve Requests and View/Search My Inventory. At the bottom you should see some info about the location you have selected from the drop at the top. This will typically be your VAN.
As you have noticed there are two search buttons, Item Search/Transfer and View/Search My Inventory. As you can probably deduce, the View/Search My Inventory will only search for items that are found in the location you have selected at the top of the screen. If you select top button “Item Search/Transfer” you will be searching the entire system for items with the intention of transferring items TO your selected location.
Item Search/Transfer

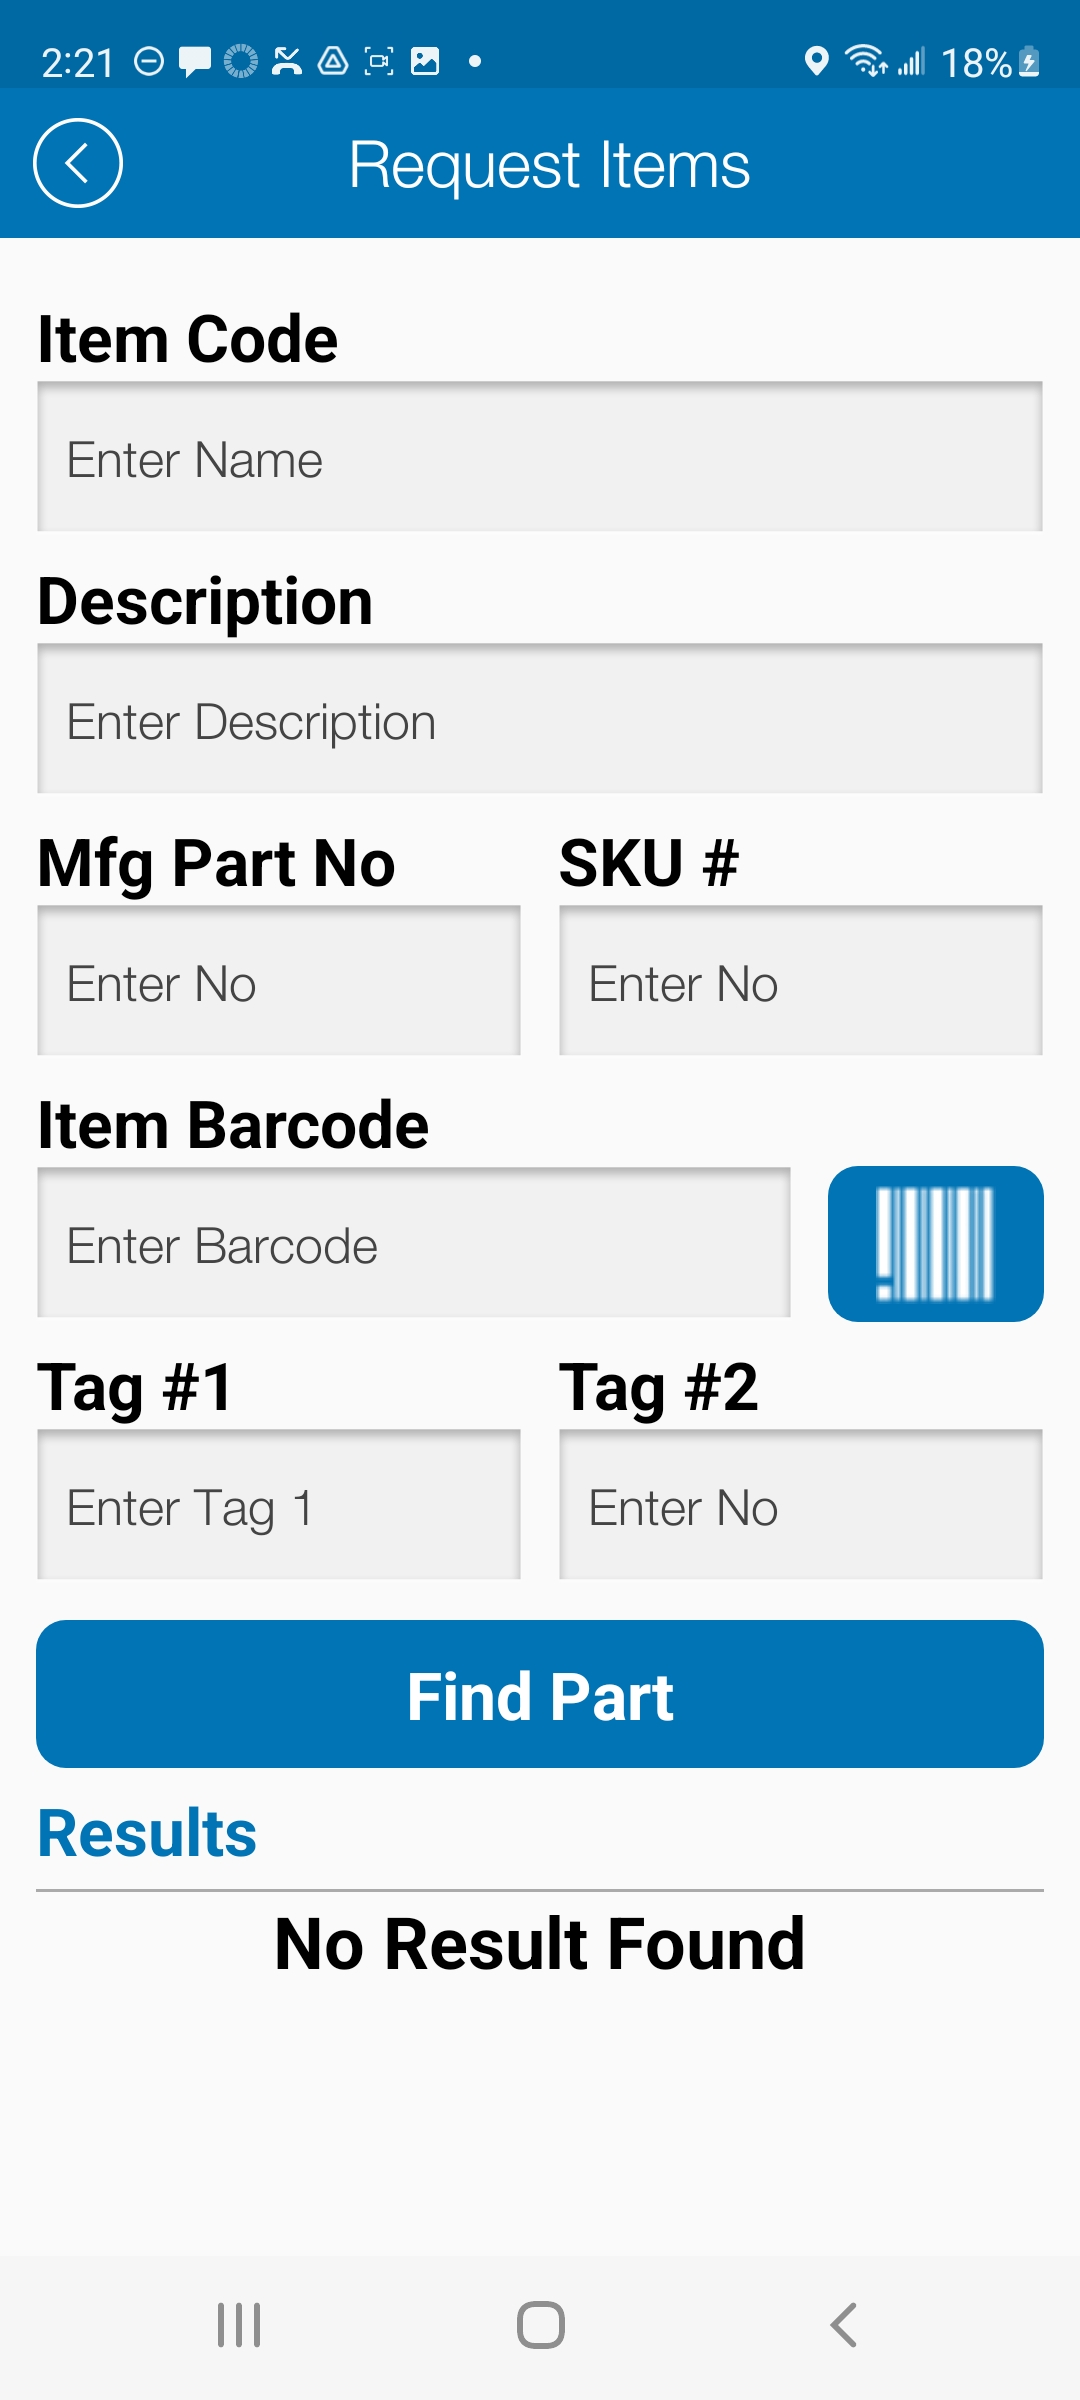
Should you desire to search the entire system for an item you need to select the Item Search/Transfer. This will load a Find Item screen, this screen will look and act like your Service Record Materials Inventory allowing you to enter data under the Item Code, Description, Manufacturers Part Number, SKU#, Item Barcode or Tags. It is important to understand that you can only search for Inventory Type items. Services, Non-Inventory and Tools will not show up under Inventory. If you are looking for a Tool, you need to back out of Inventory and click on the Tool Manager button in the main menu.
You can enter a partial names and descriptions when doing your search, you need to understand though that all the data entered is taken into account in your search. If you are searching for 18” Spiral Duct you can do a couple of things. You can search under description for Spiral Duct. You can search under Tag 1 for Duct. You can search under Item Code for SPR. I recommend you start your search with single words under the Description. Once you start finding items related to what you’re looking for, take note of the other info and see if you can find things to add to your search to refine it. In this example, add the word Duct to tag 1 will further limit my results. Searching is going to take some learning what works and what doesn’t.
Once you find the part your looking for, you can then see on the right, how many of the item are in Inventory. This will show as a number just to the left of the word VIEW. You can then click on View which will open the Select Sub-Location screen and see more details about the item. At the bottom of that screen you will see Available Locations. This will tell you all the placed that this item is currently listed in the system.
Transferring Inventory
Once you have found an item that you need, you will have to transfer the item to a location that you have been assigned to before you can apply the item to a job in essence using the item. To do this, you will need to find the item under the Item Search/Transfer and when you get to the Select Sub-Location screen, you will have to choose the sublocation you are going to take the item from and press the word PICK.
On the next screen titled Request Transfer you will see at the top of the screen a confirmation of the item and where you are choosing to remove the item from. At the bottom of the screen the system is going to collect info about where you are placing the item in your chosen location you selected from the main Inventory menu. Most likely this will be your vehicle assignment. Under the Transfer To section you will need to either scan a sub-location barcode or select a sub-location from the drop menu. You will have to put in some quick notes as to your reason for taking the item, then enter a quantity as to how many of the item your taking. The quantity number can NOT be more than the quantity of the item on hand at the source.
Finally you are going to select Transfer and you will then be taken to the Transfer Requested screen where the system will show you all the details of the transfer you just requested. It is important to understand that what you just did was make a request, you have NOT actually transferred anything to your location. All transfers must be approved by the person responsible for the source location. It is best that you then notify that person as to your transfer request so they can quickly approve the request which will then move the item and quantity into your designated location/sub-location.
Accepting Transfers

Should the need arise where someone else is asking for items from your assigned location, you will need to accept the requested transfer before the item will no longer be counted in your inventory. To do this you will need to open the Inventory module up and select the Approved Requested Items button. When you do this, if you have a transfer request, you will see it under the next Transfer Approved screen. The listed transfer request will tell you the item, the location/sub-location where you have the item listed, who is making the request and how many of the item they are requesting.
It is important to note that if and when you approve a transfer request, the item will be moved by the system out of your inventory and into the requesting user/location. It would be good practice to NOT approve items until the person has picked up the item. This way there is no issue with them having the record but you having the item.
It is also important to note that the person who receives the transfer request and is responsible for the source of the transfer has the option to Reject the transfer. If this happens the transfer will be deleted and the item will remain with the source.


